Local painters in Middle Tennessee
We serve Nashville and Middle Tennessee from Spring Hill. Every project starts with a free, itemized estimate, uses Sherwin-Williams paints and carries our 2-year written guarantee.
See our residential, commercial and industrial services, or the towns we serve.
Real reviews from happy clients
Google rating 4.8 from 178 reviews
Found Paintpros on Facebook.. was a bit skeptical. Needed a refresh on kitchen cabinets and walls. I seriously was so impressed. Celeste was so wonderful. Trusted her in my home and with the job at hand. I recommend highly! Thanks Celeste 💕
Heather G. · 5 out of 5
My husband and I were very pleased with Paint Pro services! They communicated well, were affordable, did the job in the amount of time they told us they would and did excellent work! We would highly recommend them for any of your painting needs!
Katie T. · 5 out of 5
Every aspect from quoting, to scheduling, to finishing the painting project was quick, accurate and respectful to our needs. The painting crew were true artists in painting. I wholeheartedly recommend PaintPro!!!
Dennis B. · 5 out of 5
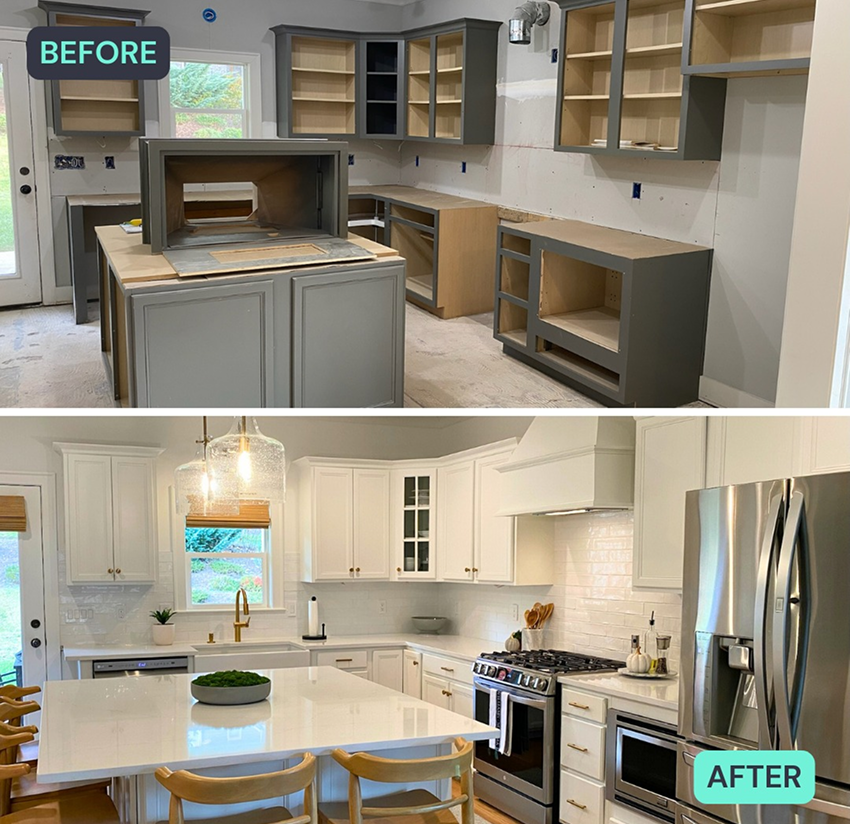
I highly recommend Paint Pro! We could not be happier with the work they did on our kitchen cabinets. The transformation honestly exceeded our expectations. The cabinets look absolutely beautiful, and it feels like we have a brand-new kitchen. The woman who completed the work in our home did a phenomenal job. She was professional, meticulous, and clearly took pride in her work. What impressed us even more was her attention to detail after the main job was finished. She made sure the little touch-ups were addressed and that everything looked right before the project was truly complete. We had previously received a quote of around $40,000 from another company for a kitchen renovation, so we were looking for a more reasonable way to update the space. Paint Pro came in at a fraction of that cost and gave us a result that looks better than we could have imagined. From the quality of the workmanship to the final appearance of our cabinets, we genuinely could not have asked for a better experience. Our kitchen has been completely transformed. We would absolutely use Paint Pro again and highly recommend them to anyone considering having their cabinets refinished or painted.
Josh T. · 5 out of 5
Good experience. Polite professional crew, steady work. Would love it if a crew member could be proficient in speaking English. Spanglish was a bit limiting at times.
thomas M. · 5 out of 5
Paint Pro painted my living room, dining room, kitchen and bedroom.they did a great job and I would recommend them.
Pat L. · 5 out of 5

A local family business you can trust
PaintPro was founded by Ryan Ezzell, a lifelong Nashvillian inspired by his grandfather’s fifty years of painting expertise. Built on integrity, service, and modern techniques, PaintPro is proud to serve Nashville, TN and surrounding communities. We treat every customer like family, offering clear communication, transparent pricing, and a seamless experience from start to finish. From residential interiors to commercial updates, our skilled team ensures every space is properly prepared and beautifully finished.
We stand apart because of our commitment to customers. Every job begins with careful prep work and ends with exceptional results that improve curb appeal and bring peace of mind. Our team handles everything from house exterior updates and interior painting to commercial painting services and industrial coatings. With transparent pricing, professional crews, and a 2-year written guarantee, we make the painting process smooth and worry free.


As a leading Nashville painting company, we provide high quality painting services for homeowners and businesses throughout Middle Tennessee. Our experienced team of Nashville house painters delivers exceptional results through detailed prep work, premium materials, and meticulous attention to detail. From residential painting to commercial painting services, every painting project is handled with precision, craftsmanship, and a commitment to customer satisfaction.

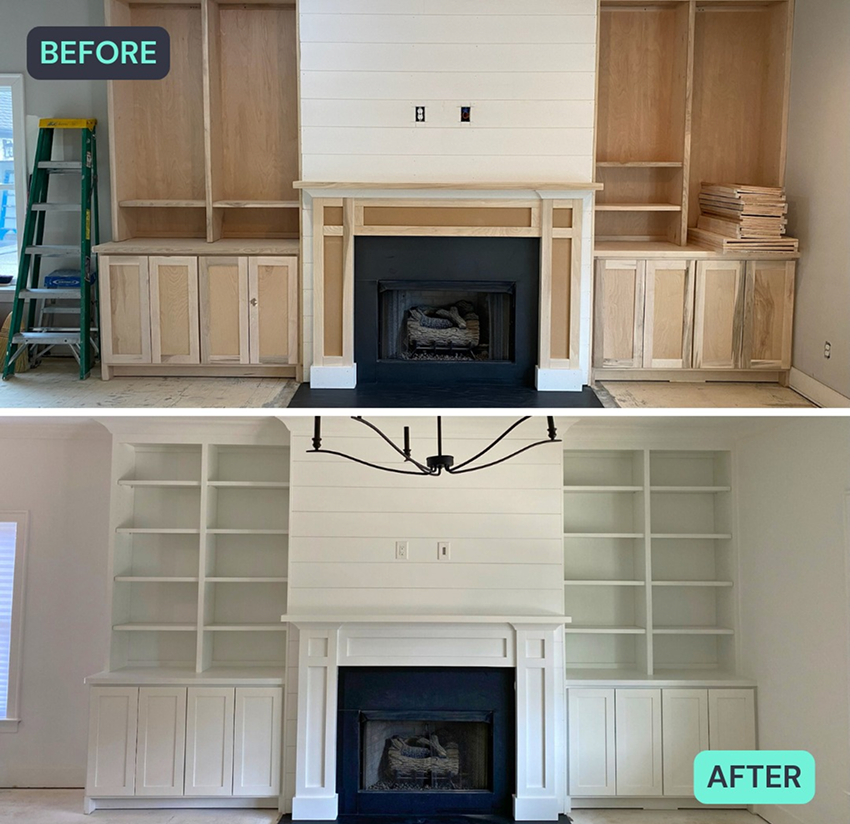
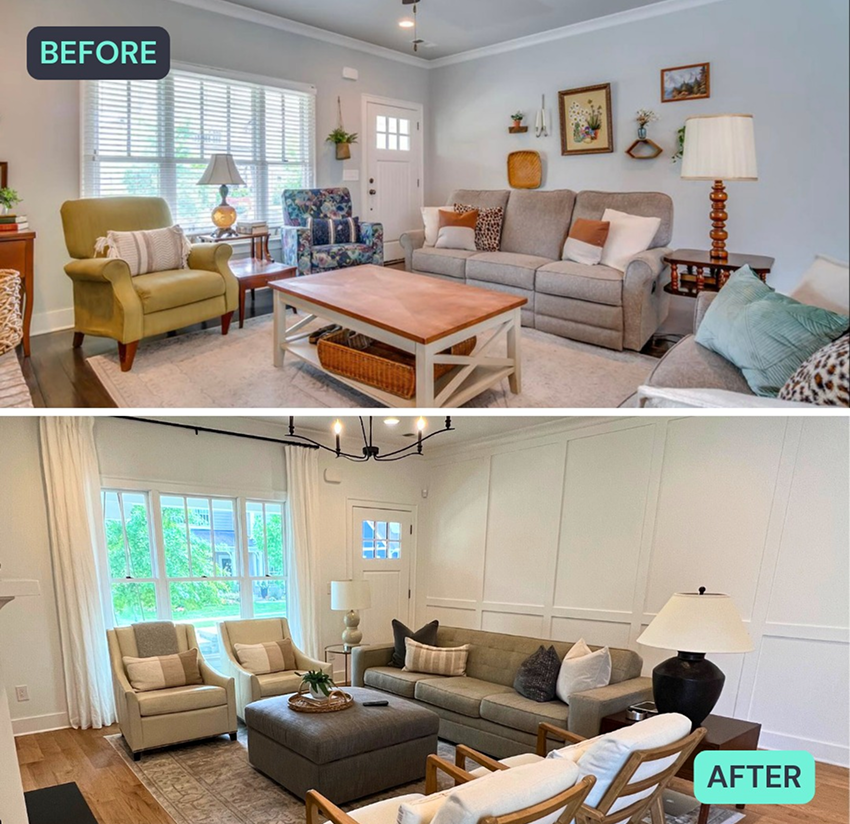
Transform your Nashville home with top quality interior painting designed to refresh your space and reflect your style. From accent walls and single room updates to full interior and exterior transitions, our house painters deliver flawless results with clean lines and careful prep work.
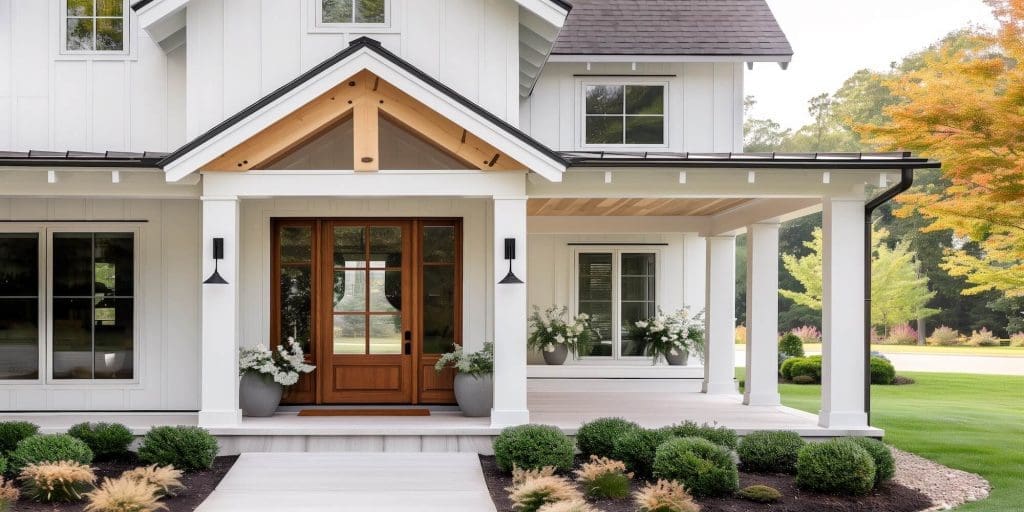
Boost curb appeal and protect your home’s exterior with expert exterior painting Nashville homeowners trust. Our team handles thorough surface preparation, premium exterior paints, and detailed finishing to ensure long lasting results that stand up to Middle Tennessee weather.
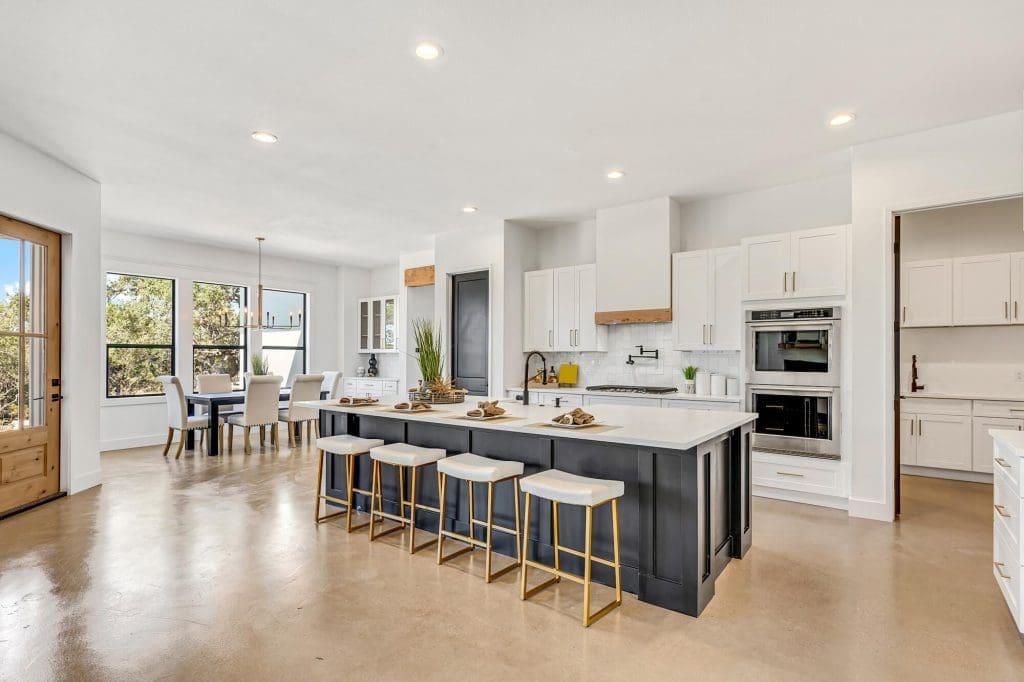
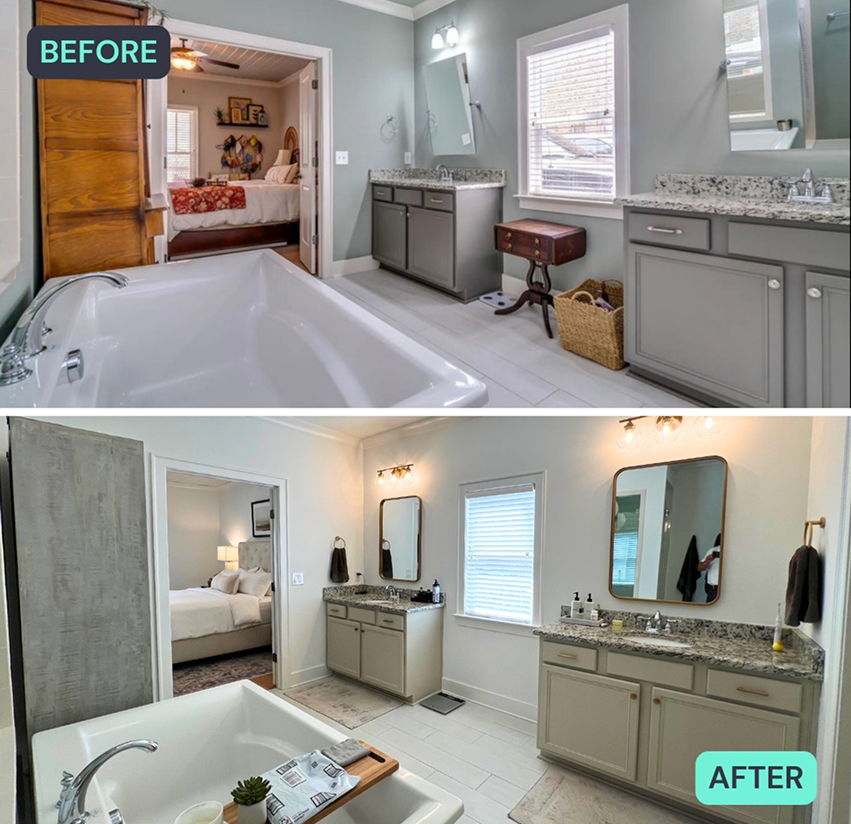
Give kitchen cabinets and bathroom cabinetry a fresh coat without the cost of replacement. Our cabinet painting services combine precision, durable finishes, and smooth application for a flawless finish that brings new life to your Nashville home.

Enhance outdoor spaces with professional deck and fence staining that protects wood surfaces and elevates style. We use high quality products and detailed prep work to protect your investment and improve curb appeal.

Our commercial painters Nashville TN businesses rely on deliver expert commercial painting services for offices, retail spaces, and modern builds. We work efficiently to minimize disruption while delivering exceptional service and flawless results in every commercial space.
Whether you need interior painting, exterior painting Nashville solutions, cabinet painting, or commercial painting services, our dedicated painters in Nashville are ready to bring your vision to life. We combine unmatched craftsmanship, exceptional customer service, and a stress free process to deliver high quality results on every job.
Choosing the right Nashville painting company means partnering with trusted Nashville painting contractors who prioritize quality, communication, and flawless results. Our experienced painters are proud to serve Nashville, TN with high quality painting services built on integrity, precision, and attention to detail.
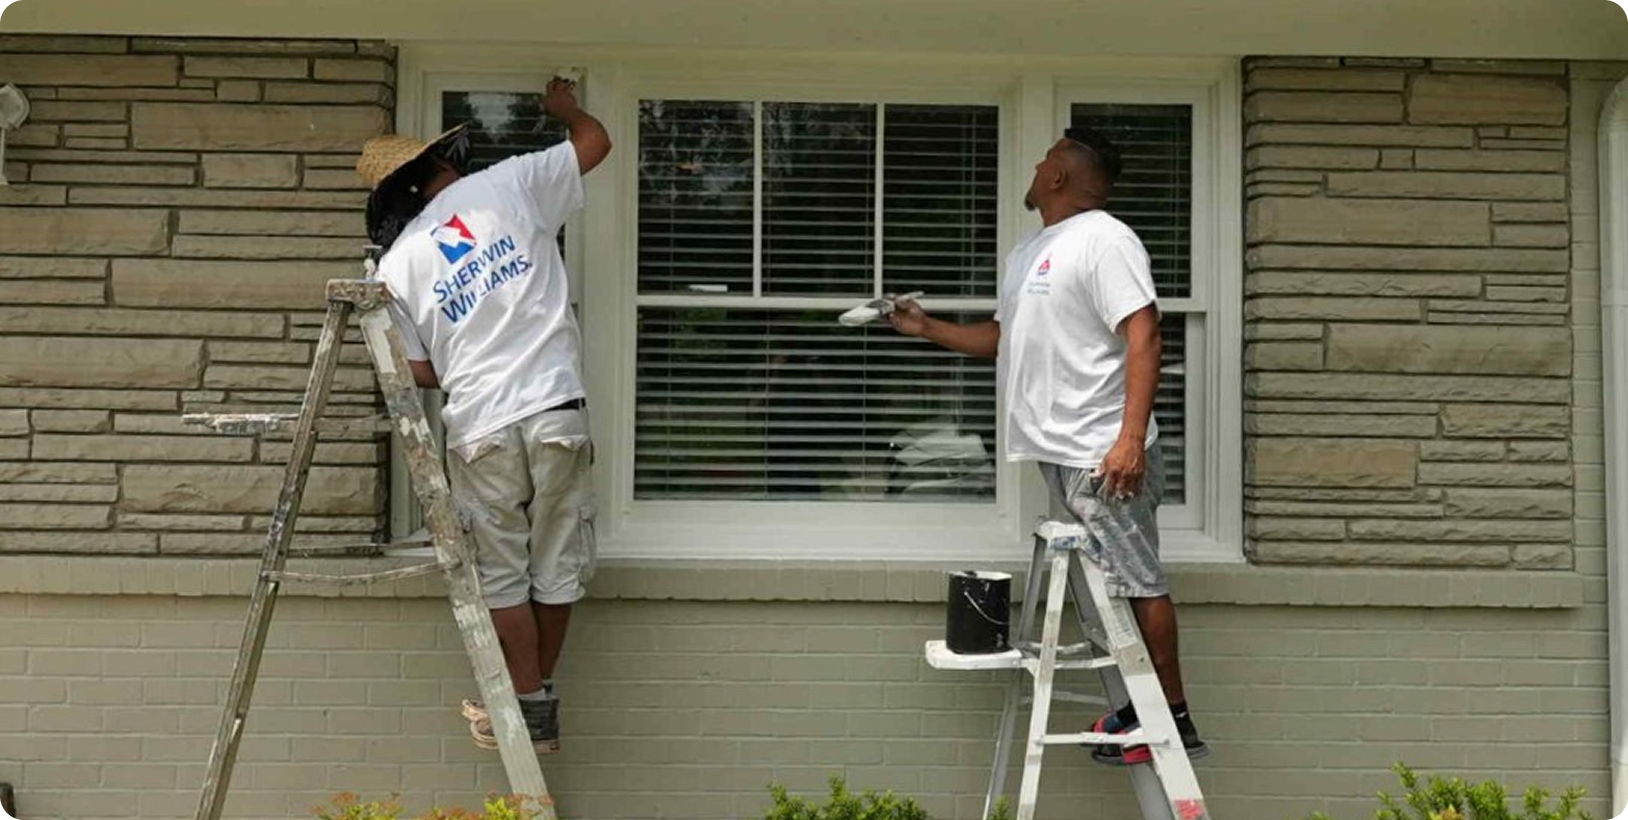

Our Nashville, TN painters bring decades of combined experience and a proven process that ensures excellence in every project.

We use Sherwin-Williams premium paints and materials applied with care for long lasting beautiful results.

Every client receives a free estimate and transparent pricing so you always know what to expect.

Every finish is backed by our written warranty and our 100 percent satisfaction commitment.
From house painting to commercial painting services, we are dedicated to delivering exceptional results that enhance your Nashville home or business and exceed expectations every step of the way.
A seamless experience from start to finish

We start by understanding your needs, walking through your space, and providing a clear, detailed estimate with no hidden costs.

Our experts help you select the right colors, finishes, and services for your project while creating a plan that works with your schedule.

From careful prep and protection to flawless painting techniques, our team delivers clean lines, even coverage, and durable finishes.

We review every detail with you to ensure complete satisfaction and back our work with a written guarantee for peace of mind.
Transform your home with lasting beauty
Experience the PaintPro difference
As a family-owned company rooted in Nashville, we understand the unique needs of Middle Tennessee homes and businesses.
We provide clear communication, upfront pricing, and a stress-free process from start to finish.

Our skilled painters focus on preparation, detail, and premium materials to ensure long-lasting, high-quality finishes.
Every project is backed by our written guarantee and commitment to delivering results that exceed expectations.
FAQ
A reputable Nashville painting company provides a detailed in home free estimate rather than a phone only quote. Your estimate should outline labor, materials, surface preparation, paint brand, number of coats, and a clear timeline for your painting project. Professional painting services also include protection for floors, furniture, and landscaping, along with thorough cleanup. At PaintPro, we follow a defined process from prep work to final walkthrough to ensure flawless results and exceptional customer service. Schedule your free estimate to experience the difference.
Yes, our Nashville house painters operate as a fully licensed and insured painting company in Nashville, TN. In Tennessee, projects between three thousand and twenty four thousand nine hundred ninety nine dollars require a Home Improvement License, while larger projects require a Tennessee State Contractor license. We carry general liability and workers compensation insurance to protect homeowners and businesses. Working with trusted Nashville painting contractors ensures your residential painting or commercial painting project is handled professionally and safely. Contact us today for a free estimate.
A high quality exterior painting Nashville project can last five to ten years depending on prep work, materials, and weather exposure in Middle Tennessee. Proper surface preparation, premium paints, and skilled application play a major role in durability. Homes in areas with higher precipitation or strong sun exposure may require maintenance sooner. Our experienced team focuses on long lasting results that protect your home’s exterior and enhance curb appeal. Schedule your free estimate to plan your next exterior paint job.
Yes, we provide full commercial painting services for offices, retail spaces, and other commercial space environments across Nashville, TN. Our commercial painters Nashville TN businesses trust deliver detailed prep work, high quality materials, and efficient scheduling to minimize disruption. We establish a defined start and completion date and maintain clear communication throughout the job. From small updates to large scale commercial painting projects, we focus on delivering exceptional results. Contact us today to schedule your free estimate.
Our house painting services include interior painting, exterior painting, cabinet painting, and detailed surface preparation. We protect floors and furniture, complete necessary repairs, and apply premium paints for a flawless finish. Color consultations are available to help Nashville homeowners choose the right palette for their space and style. Every paint job ends with a final walkthrough to ensure satisfaction and attention to detail. Schedule your free estimate to get started.
The cost of a painting project depends on several factors including size, surface condition, materials, and complexity. Labor and prep work often represent a significant portion of the overall investment, especially for exterior painting services. Detailed written estimates help you understand exactly what is included so there are no surprises. We provide transparent quotes tailored to your specific needs and budget. Request your free estimate today for accurate pricing.
Hiring professional painters ensures proper prep work, expert application, and high quality results that last longer than most DIY efforts. Our experienced painters handle everything from surface repairs to cleanup, saving you time and reducing stress. Using premium materials and proven techniques enhances the appearance and value of your Nashville home or business. Professional painting services also include warranty coverage for added peace of mind. Schedule your free estimate to work with a trusted Nashville painting company.
Yes, our Nashville painting company offers cabinet painting services that give kitchen cabinets and bathrooms a fresh coat and new life. We also handle deck and fence staining, interior and exterior updates, and tailored solutions for modern builds and historic homes. Our experienced team delivers unmatched craftsmanship and meticulous attention to detail on every project. Whether you need residential painting or commercial painting services, we are ready to serve Middle Tennessee. Contact us today to schedule your free estimate.
Tips inspiration and expert advice